Tag: film camera

  • Part of the Process: Sara G. Amo

    Part of the Process: Sara G. Amo

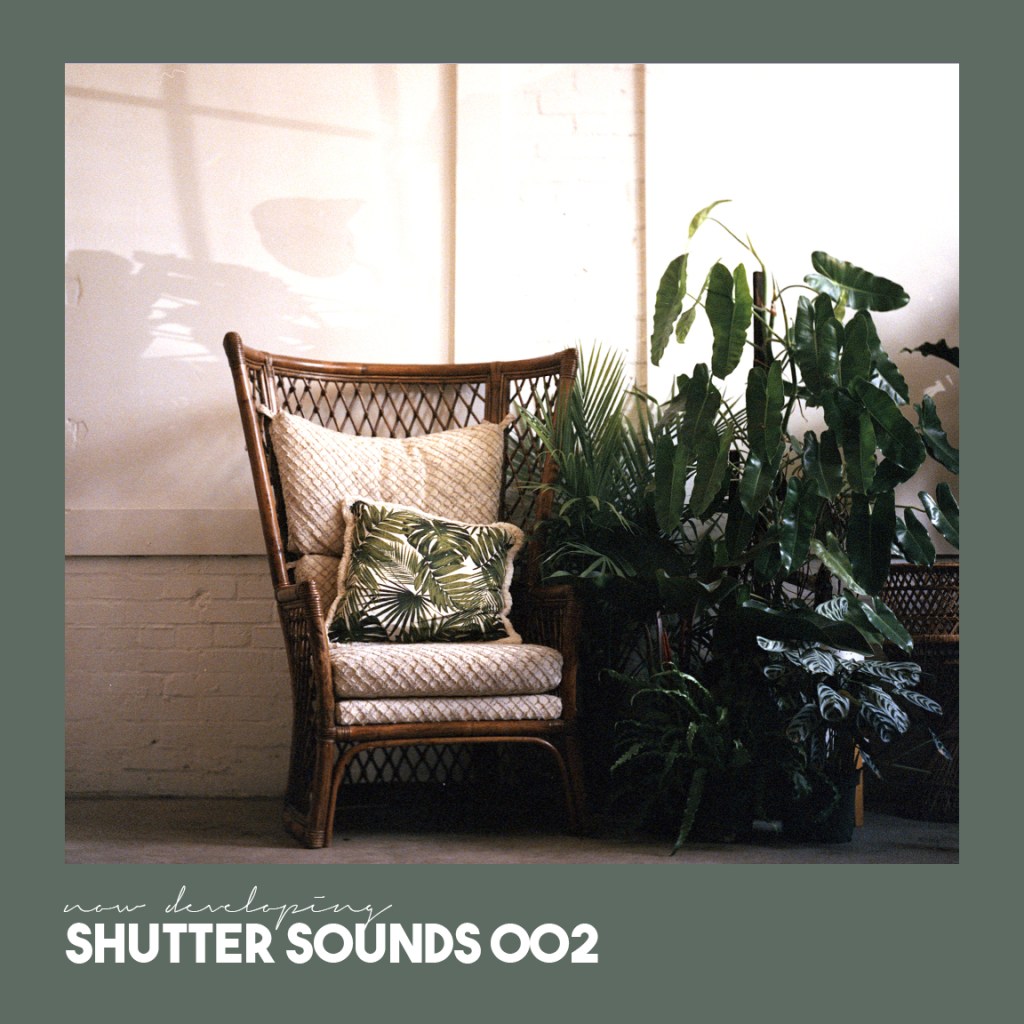
    Part of the Process is a series of posts that puts the spotlight on film photographers and DIY film developers.  These features provide unique experiences and perspectives on shooting and developing film while also showcasing diverse talent and film photographers around the globe.  If you are interested in being featured, feel free to contact me!

    Name: Sara G. Amo

    Location: From Barcelona, Spain, but currently living in Iceland

    Links:

    Cargo Collective

    Tumblr

    Facebook

    What other websites or blogs do you keep up with to feed your photographic interests?

    I like to wander around Tumblr to find other photographers and inspiration.

    What attracted you to film photography? How did you get started/introduced to shooting film? How soon after did you start developing?

    What attracted me the most are the aesthetics of film and the whole artisanal value of the process of developing. I discovered film when I was studying graphic design, we had a photography class and the first year was all about film photography, so we learned to shoot with film cameras and develop our negatives and prints. After that, when I became more focused in photography, I started shooting and developing by myself at the same time.

    What do you like to shoot on a regular basis?

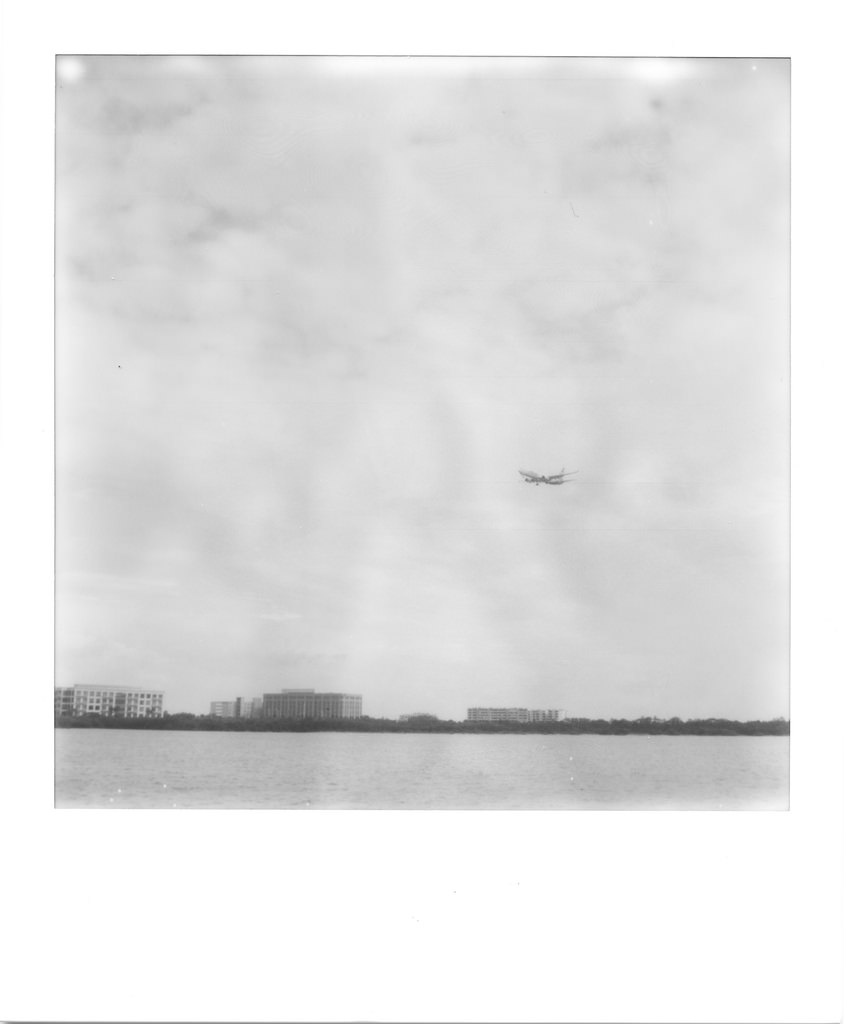
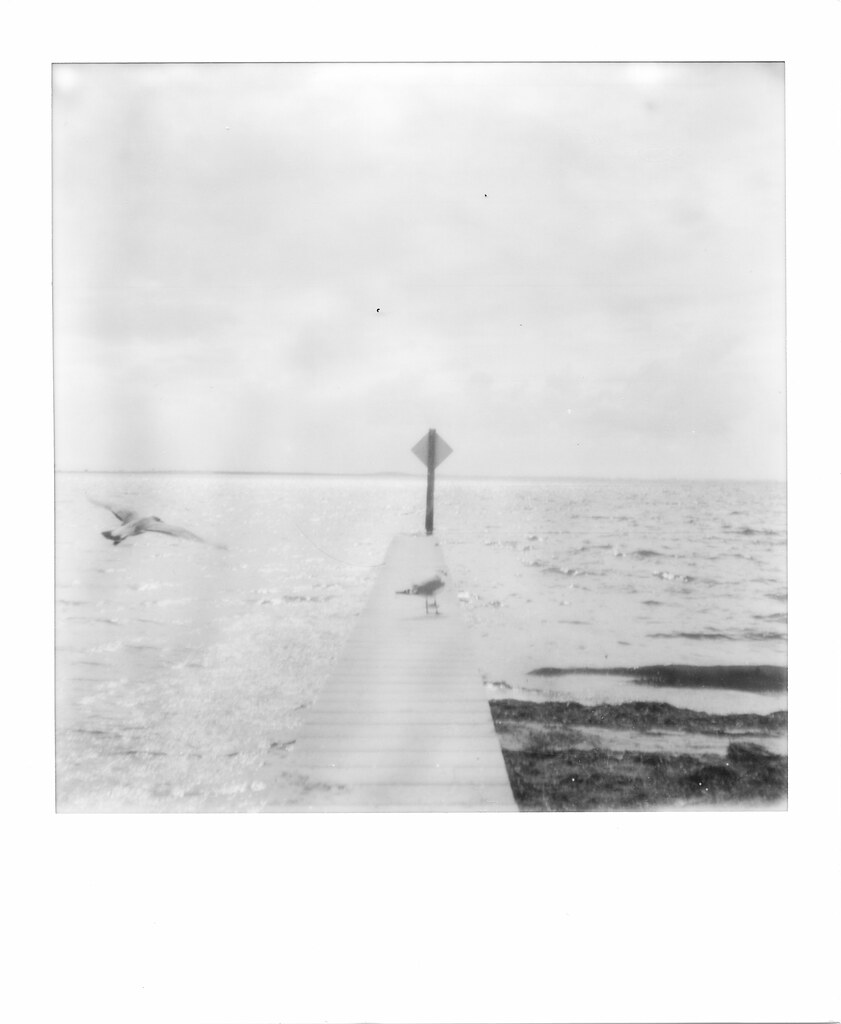
    I shoot mostly portraits, but also landscape. I am very interested in human emotions, the connection between humans and nature, and also in the social documentary perspective.

    What formats, cameras, and films do you shoot? What do you like about the formats, cameras, films you prefer? 

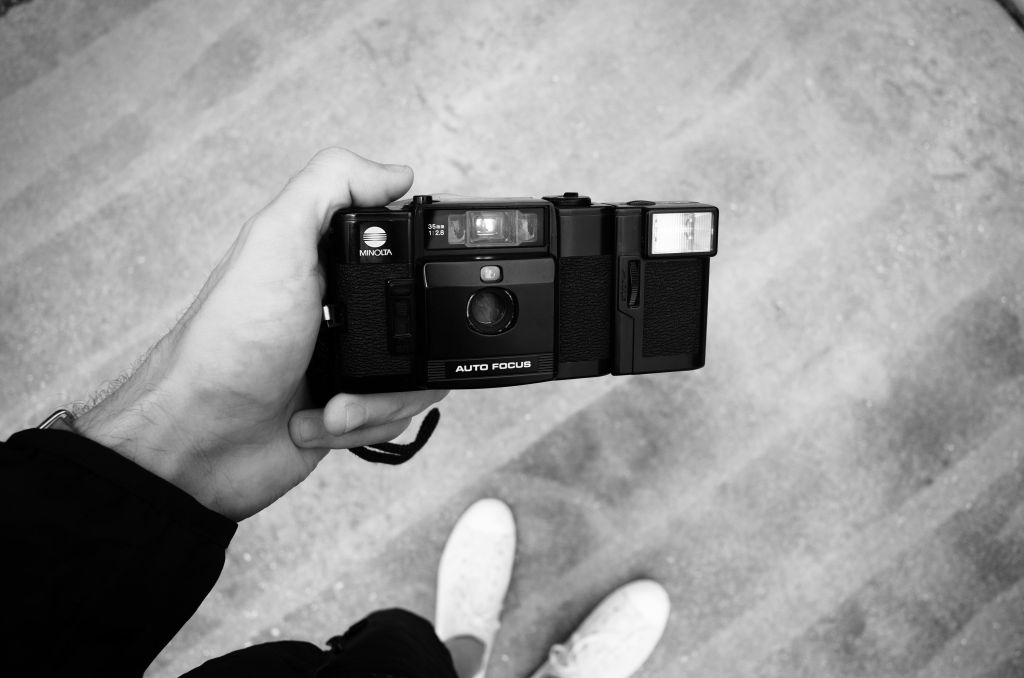
    I use mostly 35mm and medium format. I like 35mm because it’s the most easy to bring when traveling, or when going out in the street or hiking in the mountains.  It’s light weight, and you have a lot of photographs in every roll. But actually, my favorite format is medium format, I love the depth of the negatives; the results are amazing both in portrait and landscape photography. But it’s also more difficult to use because the camera is a lot heavier and the rolls have less photographs.

    So, I often use the 35mm when I’m shooting on my own, and the medium format when I have to work on specific projects.

    What types of film do you develop?

    At home, I develop black and white, both negatives and prints. In the future, I would like to be able to also develop C41.

    Tell us about your first experiences in developing your own film.  How did you muster the courage to give it a shot? What resources did you use?

    I already had the basics of developing because I learned it at school, but I remember the first time I decided to do it at home, totally by myself alone, and I felt kind of scared of making some mistake and ruining the whole batch of work. But in the end, everything went well and the more I developed, the more confidence I gained to continue doing it.

    What is your development process like now?

    First, I decide what format or camera I am gonna use depending on the project, after the shooting, I normally don’t develop the rolls until I have many to develop them in a batch.

    I send the color film to the lab, also when I have quite a lot of them. After I have all the negatives, I scan them at home and make a selection. Then, I edit the final ones in photoshop, just the basic touches: brightness, contrast, color dominance, and not much more than that. When I have money and I can buy photographic paper, I enlarge some of my favorite black and white prints in the darkroom and scan the final print instead of the negatives.

    I also like to experiment with alternative processes, such as cyanotype, van dyke brown, or photographic emulsion, among many others. Alternative processes are really interesting to me but I haven’t got the time to work with them as much as I want. I hope I can work more with them in the future!

    What’s your processes regarding scanning, enlarging, and/or printing your work?

    I like to do everything by myself. The first thing I did when I got my latest job was buy a professional scanner so I can scan all my negatives at home, because the prices of the laboratory were too high and I also didn’t like the quality of it.

    I enlarge and print my black and white photographs in the darkroom, but lately I can’t do it much because of the cost of the photographic paper. But when I have an exhibition, I always do it, the quality of the prints is much better when you develop them in the darkroom.

    What equipment are you using to develop your film and why?

    I don’t have a fixed darkroom. I would love to have it in the future, but for now I have to use my bathroom (I call it the “bathlab”). I use a Meopta Opemus 6a enlarger and a Paterson tank, because I bought it all together from a friend that was selling all of her darkroom equipment.

    Currently, I use Kodak HC-110 as a film developer because I love the results in all the films that I’ve tried, the contrast and tones that you get are perfect, and also because it lasts for a long long time. The rest of the chemicals, including fixer, stop bath and paper developer are from Tetenal, mostly because they are the ones that are more easy to find here and the price isn’t too expensive.

    Are you content with where you are now with your shooting and developing? Do you have any future plans or ambitions?

    I feel that I am still in the beginning of the journey. I still have to shoot a lot more, I still have to develop a lot of projects that I have in my mind and spread my works so they reach more people. I realized that my way is slow, so everything goes little by little, but the best I can do is enjoy the process, go with the flow, and see what happens next!

    Have you completed any notable projects or in the process of creating something from the film you have shot and developed? 

    I’m currently finishing some projects that I shot in the last years, organizing all the photographs and making the final selections. This is always the most difficult part of the projects for me, mainly because it’s very time consuming and I have to spend many hours on the computer.  I prefer to be shooting outside or developing in the darkroom.

    My latest finished project that you can find online in my portfolio is ‘A dor da ausencia’, regarding the loss of my grandmother Ilda, probably one of the most special and difficult projects that I’ve done up until now.

    What advice can you give to others who are interested in shooting and developing film but are apprehensive about getting started?

    Don’t be afraid, start in the most simple way: just find a film camera (ask your family if they have any old cameras or buy a second hand one), buy the cheapest film that you find, and start shooting!

    Developing B&W at home is very easy, you just have to learn the basics and start experimenting. You’ll discover a whole new world that will let you experiment photography in many different ways. Don’t worry if you make mistakes at first, keep shooting and practicing, that is the key to grow and improve!


  • Developed Roll: Polaroid SX-70 // Polaroid Originals Black and White

    Developed Roll: Polaroid SX-70 // Polaroid Originals Black and White

    It is truly exciting to see that some of my film photo friends are receiving emails regarding the shipping and delivery of the new Polaroid One Step 2.  I still eagerly await my delivery email, but I’ll try to remain patient. Back when I preordered the new Polaroid camera, I also bought a pack of new Polaroid Originals Black and White for my SX-70 to test out.

    Through shooting my first pack, I have encountered a few obstacles with the film and my camera.  I have found that my cameras electronics are either on their way out, or my battery contacts need a simple cleaning.  First, on two of the shots, the camera died mid-shutter release.  Secondly, on most of the frames, I was left with a milky-look to the frames.  Not going to lie, it has left me a bit disappointed.  Not sure if this was the fault of my camera, the film, or myself for not putting the frames away from light right after shooting them.  Maybe it’s the scanner, too.  Judging by some other people’s photos with the new film, it looks like some sort of user or camera error on my end.  Ah well, better luck next time.

    Overall though, it’s extremely exciting to try something new, and I am glad that these film packs, albeit still on the expensive side, have come down more than a third of their former price.  For now, here are my first photos with the new film stock.

    All images shot with a Polaroid SX-70 on Polaroid Originals Black and White Instant Film.

  • Shutter Sounds: 002

    Shutter Sounds: 002

    Shutter Sounds is a monthly, ten-song music playlist based upon my most-played music of the previous month.  These monthly compilations are not limited or constrained to any theme or genre.  They are simply a selection of songs that I chose from my most played artists of the month for the readers to enjoy while shooting, spending time in the darkroom, or want to listen to something new.

    Shutter Sounds_002, October 2017.

    YouTube: https://goo.gl/vJCK2H

    Spotify: https://goo.gl/SWg45h


  • Camera Review: Minolta AF-C

    Camera Review: Minolta AF-C

    With premium point and shoots skyrocketing in price due to their scarcity, celebrity endorsement, and cool-guy factor, many people are searching for alternatives to cameras such as the Contax T2 (nearing $600, I sold mine for $325 about a year ago) and the also steadily-rising Olympus Stylus Epic with 35mm 2.8 lens (some asking prices near $2-300, but I have found more than a handful at the local Goodwill for under $4).

    I frequently (almost daily) come across Facebook groups where someone is asking about the best quality point and shoot for the best price.  Typically speaking, OP is looking for a camera with a sharp f/2.8 lens.  In the replies, I always see the same answers; the Contax T2, Olympus Stylus Epic, Rollei 35, and Olympus XA usually round out the top of the responses.

    One camera that I have never seen mentioned (nor did I know it even existed until recently) is the Minolta AF-C: something that looks like the long lost sibling of the Olympus XA series or the Lomo LC-A.

    The Minolta AF-C is an interesting camera.  By its looks, it appears as if the Lomo LC-A and the Olympus XA had a love child.  The AF-C has a sliding lens cover and also sports a detachable side-mounted flash.  It’s pretty slick looking, perhaps a bit too Robocop-looking for me personally, but it does remind me a bit of an 80’s Ferarri.

    Starting at the top of the camera, the camera is ridiculously simple and minimalistic for better or worse depending on what you are looking for in a camera of this type.  The camera only has a rewind knob, shutter button, and film counter on top.  The film advance is also manual.  To me, this makes the camera feel a little cheap.  It makes me long for the advance tab seen on my Minox 35 EL.  The front of the camera is just as simple.  The AF-C sports a 35mm f/2.8 lens with a self timer switch to the left and an ASA dial underneath the sliding lens cover.  The left side of the camera (looking at the front of the camera) has a small metal loop for a wrist strap while the right side of the camera has a connection for the EF-C flash which looks strikingly similar to the Olympus A11 flash.  Finally, the bottom of the camera has tripod accessibility as well as a battery door and film rewind release.

    Loading film into the Minolta is probably my favorite part about the camera.  The take up spool has such a neat little mechanism that grabs the film tab as you load and advance the film through for loading.  Be careful on used/abused cameras, because sometimes this tension clip loosens over time.  My initial roll was compromised because I trusted that the clip was in working order.

    When taking photos, the viewfinder is relatively bright.  It has two LED lights at the bottom. A green LED to indicate successful autofocus and a red LED to indicate a low light exposure.

    The camera is rather pocketable with the flash on, but much more so without it.  Personally, I do not utilize a flash all that often, so I would probably leave the flash at home anyhow.  I know we are talking about ounces here, but when it comes to portability every centimeter and ounce tend to count.

    Shooting the camera is just as simple and as easy as it looks.  Point, press half way down to be sure of exposure and focus, and slam it down for the shot.  The lens is super sharp, and I consider it (and the camera) all too overlooked.  Perhaps this will change as the popularity of point and shoots is on the rise and consumers searching for an affordable and quality camera will start breaking off from the soon to be unattainable Contax-branded cameras.  The only downside I can mention is that you really have to trust the camera.  It’s reliable, but some shooters really value their manual controls. Oh, that and ISO 400 is the highest setting on the camera.  So, you have to adjust accordingly.

    In the test shots below, I include both black and white and color film.  The roll of Fuji Superia 400 I shot was a bit dated and wasn’t stored very well.  It came out a bit underexposed, to say the least.  You can still see the quality of the lens through the fade and haze of the expired film, but perhaps not a great representation of color and exposure.  These aspects are seen best in the black and white frames provided.  Those were shot by my buddy who I borrowed the camera from for the review.

    All in all, the camera is solid for the purpose it’s meant to serve: to point and to shoot.  It’s quick and produces quality results.  It’s pocketable, and rather inconspicuous.  It also performs rather well in all general conditions, which is nice for a camera you want to have on you at all times.  However, if you’re looking for any manual control aside from setting the ISO, you might not enjoy it as much.

    Minolta AF-C // Superia 400
    Minolta AF-C // Ilford HP5+
    Minolta AF-C // Tri X
    Minolta AF-C // Superia 400
    Minolta AF-C // Tri X
    Minolta AF-C // Superia 400
    Minolta AF-C // Tri X
    Minolta AF-C // Superia 400 // No Flash v. Flash Comparison